
Hopefully, I’m not the only one, but I’d like to say that everyone has those areas in their house where the junk just seems to accumulate. For most people it’s a junk drawer, for me it was a junk cart! Yikes.
I bought this pretty outdated microwave cart at Goodwill when we first got married as a coffee cart for our tiny, yet cozy apartment. It did its job and I carried it over to our house as a sort of entertainment storage area. I think sometimes you just get used to seeing the junk around your house and it doesn’t really phase you, but as we were getting ready for guests to come over one day I saw my junk with fresh eyes and this space needed some desperate TLC! Don’t judge me by the mess.


I didn’t just want to nix the space altogether, as our laptop acts as our DVD player and a way to watch movies online (no smart tv over here) and I didn’t want to buy anything new either. So that meant DIY project and making the most of what you have!
I definitely think I’m getting better at DIY projects…or should I say more patient. For instance, I used to always skip the sanding process of a project because #aintnobodygottimeforthat…but then I always got frustrated when the paint chipped.
I usually know the right way to do something, but I usually try to cut corners out of wanting it to get done sooner! I think that’s what I did to this project when I first got it. As I started to peel back the layers (literally), it was a hot mess.
Judging by my footprints, I can tell that first I spray painted it brown, then decoupaged it with paper, then spray painted it gold, then threw some contact paper on top! Yeesh. I wanna grill the old Carolyn on some of her design choices…


All this bad former work, unfortunately, made this a project where halfway through I definitely did not think it was worth saving this cart I probably got for $10 or less from Goodwill. But I already started and I’m no quitter!

Once I finally got to the painting stage I started to think about how I was going to clear out all the stuff. I made a pile to toss and a pile to put somewhere else and that seemed to work.
I don’t know why we have so many DVDs, as I can’t remember the last time we popped in a DVD instead of watching something on Netflix, but they’re hubby’s so I won’t toss them and storing them by the tv made the most sense. Hey, maybe we’ll actually start to watch them now that I dusted them off. 😉
After the paint dried I just found some baskets around the house to store cords, chargers, etc and some other items to make it pretty!
After:

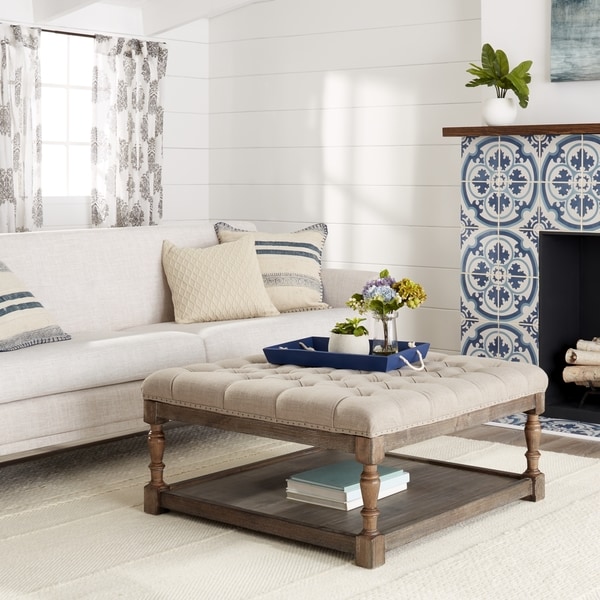
Was it worth the time? Ehh…I’m gonna go with yes. As I continue to refine my style and fix up my house I want to mix the DIY projects with new and nice things for a balanced, classy look. I’d rather fix up the microwave cart and spend some money on a statement item, like a tufted ottoman I have my eye on!


Check out the posts below for more DIY projects:
How I Limewashed My Brick Ranch Exterior (For Under $30!!)
A Crazy Easy Way to Update Oak Trim


wow you definitely transformed that chart. Neat to see how you’re noticing your skills develop with each project. Good idea to use baskets for organization. You’ve inspired me to use more baskets around the house, it’s neat to see they don’t have to match each other and can still look good.