
Sometimes you can’t escape it.
Baseboard heat that is. If you’re lucky, you may get baseboard heater covers that are pretty low-key, but if you’re like me and get stuck with ones that pretty much TAKE UP HALF THE WALL, well, you’re going to have to deal with it.
Actually, scratch that.
You don’t have to “deal” and get stuck staring at these things. You can create a way better-looking baseboard heat cover!
If you’ve noticed, I’m more of a home decor/show you the bigger picture person when it comes to interior posts. I don’t really do tutorials just because most of what I do isn’t completely new and someone could explain it so much better (though I did do a tutorial on painting your kitchen cabinets.)
But when I posted our living room update and talked about getting baseboard heaters “thrown” on us, I had a request for a post on building baseboard heater covers and realized, there is not a lot out there. So aha, there’s a need in the wide, vast internet for this!
I’m calling in the builder, a.k.a my husband, a.k.a Titus, to tell you how he built these wood covers!
Take it away, Titus.

DIY Wooden Baseboard Heater Covers
When we first placed an offer on our house we were told that the house was forced air heat. The inspection then caught that the house was not forced air and we had been given bad information. It turned out that the house was a floorboard radiant heat system. After talking about it and going back and forth we decided to go ahead and continue with the sale (after getting a little bit of money back due to the error). We then had to decide how to upgrade the covers of the radiant heat system.


I had never dealt with a radiant heat system before so I tried to do a lot of research to figure out how the cover needed to be built in order to allow for the system to work.
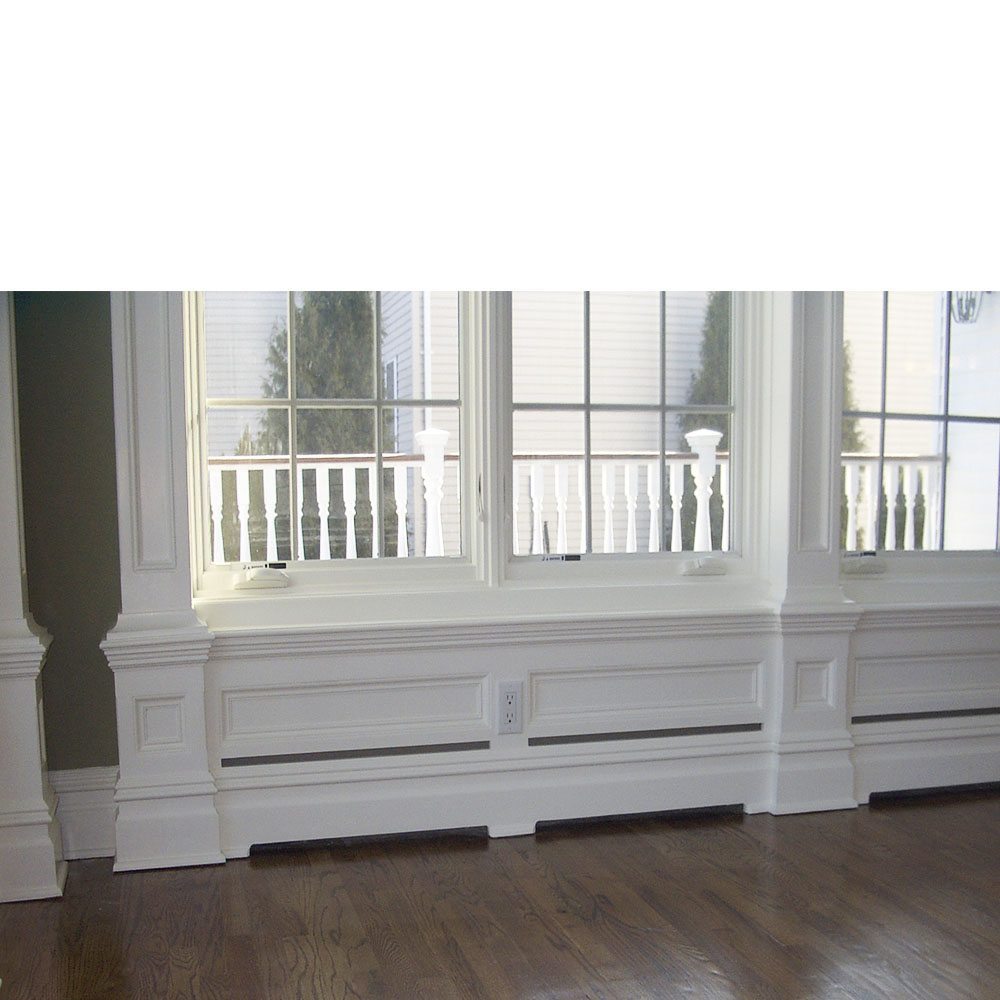
The basic way the system works is that air is drawn in at the bottom of the cover, heated by the hot water in the pipe under the cover, and exits through the top of the cover.
You need to allow for room for air to flow through and in the cover. I built the cover about 5 ½ inches tall and 5 inches out from the wall. At the bottom of the cover, I cut out a 1-inch slot to allow for air to enter the cover from the bottom. I then cut out three ½ inch slots at the top of the cover to allow for air to exit the cover. If you want more info on how they work just google it…that is exactly what I did.


To attach the covers to the wall I used scrap wood and nailed it to the studs in the wall and directly into the floor. I then anchored the covers to those scrap pieces and to each other. We then had to wood fill and caulk because I am not perfect. Lastly, we painted the covers.


Here is what I used to build them:
- 1×6’s for the wood
- Table saw to rip the 2×6 to the correct width
- ½ inch drill bit to start the cuts on the top slits
- Jigsaw to cut the top and bottom slits
- Air compressor and nail gun to nail the covers together
- Sandpaper to clean it all up


It took me a very long time to do all the cutting of the slots. In our living room, we had about 30-40 feet of cover I had to build and I probably spent about 6-10 hours cutting, sanding, and installing. You want to go slow and make sure that you are getting lines as straight as you can and that you sand it very carefully.
Ultimately, the design idea is up to you and you can create whatever look you want with these covers as long as you have the slots on the bottom and top as well as a top cover and front panel. You can have fun with it and turn your covers from an eyesore to a statement fairly inexpensively. And always remember – if they don’t turn out you can just give up and sell your house as-is.
Happy building!


Carolyn again!
Thanks, Titus, for the tutorial.
Titus types very matter-of-factly, but if you met him in person you’d see he’s actually very sarcastic and silly haha!
My goal was for the covers to be as basic as possible so they could blend in. Thankfully, I think we accomplished that because they seem to “disappear” in the before & after pictures. Also, Titus is not a fan of super detailed work, but if the skill and desire are there, you could easily make them look more extravagant and even more like built-ins.
Typically, you’ll find the best value in wood. But maybe you don’t feel like building anything. You can buy steel baseboard heater covers, though you will have to pay a pretty penny for them.
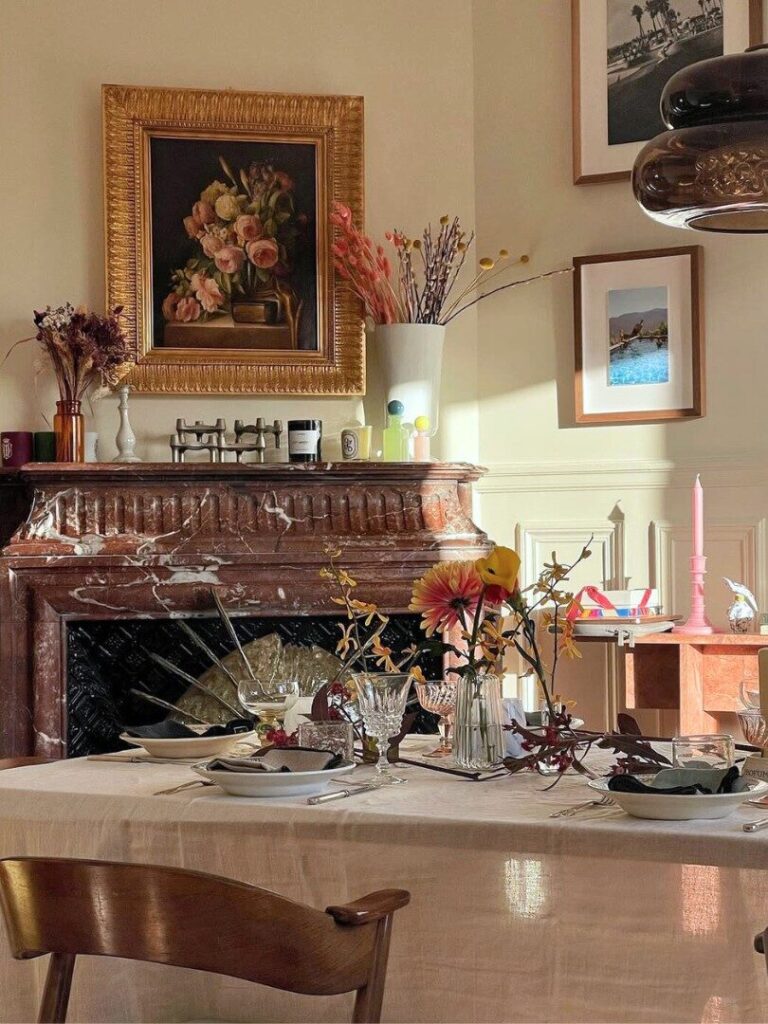
I’m sharing some extra photos of custom heater covers I found for your inspiration!


We found one person online that makes beautiful wood baseboard covers and we priced out what they would be and well, it came to $600 for one wall in one room. Though I’m sure the extra cost would be worth it for some, I’ll just be taking a basic look haha.
You can check out this company if you want custom-built heat covers to hide your old baseboard heaters or you can always reference this blog post for a tutorial on how to do your own!

Let me know if we can answer any more questions for you! Have you seen the living room update to see the wooden baseboard heater covers in action yet?


I have been looking for something like this for a long time. One question. Are this removable so you can vacume around the coils ?
They are not, though that would certainly be a very helpful feature to have. Truthfully we haven’t vacuumed around the coils since we first installed them, but it looks like we could potentially get some of them with a skinny attachment. Maybe putting the boards on a hinge would work!
These baseboards turned out so good! We need to replace ours so bad. Our next home project is some kitchen cabinet refinishing this weekend, but maybe after that we will have to give this a try. Thanks so much for sharing!!!
Great timing since we just bought a reno home that had some sad radiator covers. These look great. The only thing missing is the ability to utilize a too damper to reduce heat in little-used rooms or if it feels too warm. But this is a good starting point for us.
I hope you can create something that works perfectly for you and your home!
Like your heater covers.as mine were removed by my son when he redid the flooring and never replaced them. I would like to ask if you noticed any change in performance. I would like to see more of your build and see if the top openings should be angled to direct air flow also what did you use to support the radiator? Thank you